Video Editing
Video Editing
Video editing is the process of manipulating and rearranging


Once imported, organize your media
Importing and organizing your media assets into bins or folders is an essential step in the video editing process to maintain a structured workflow and easy access to your files. Here’s a step-by-step guide on how to do this in most video editing software:
Trimming and Cutting:
1. Open your video editing software and import your video clips.
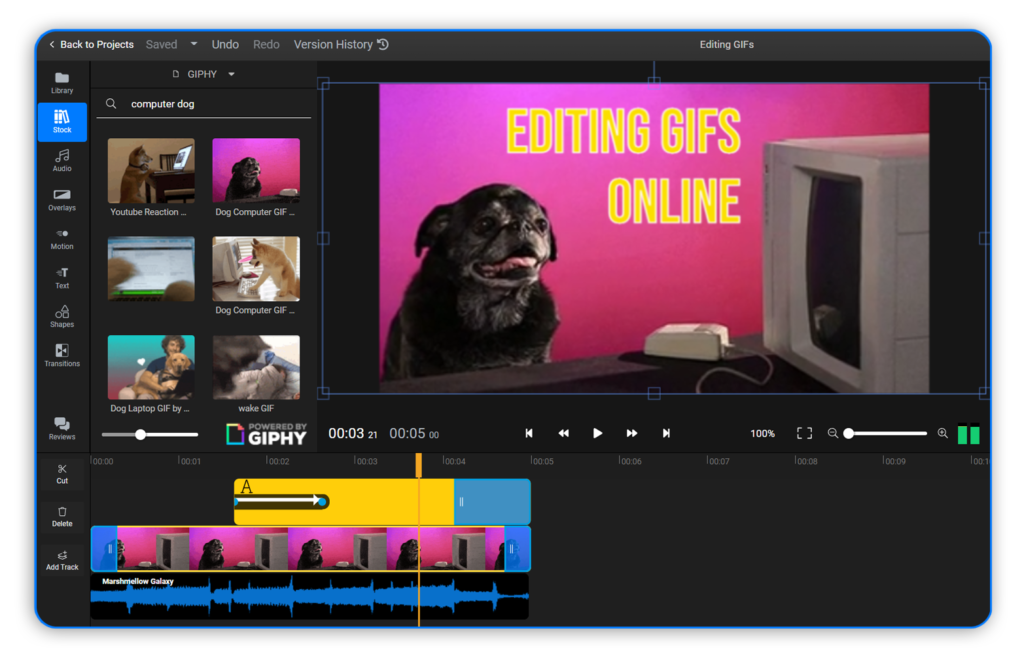
2.Drag the clips onto the timeline.
3. Use the razor tool to cut the clip at the desired points. You can also use keyboard shortcuts for efficiency.
4. Delete the unwanted sections by selecting them and hitting delete or using the trim tool to remove them.


Adding Effects:
The next step in the video editing process is organizing and selecting the best footage for your project. This involves reviewing all the imported media assets, categorizing them, and choosing the clips that best fit your vision for the final video product. This step may also include renaming files, creating bins or folders to organize assets, and adding metadata or markers to help streamline the editing process.
Looking For the Specs Here’s what we include in each Video Editing
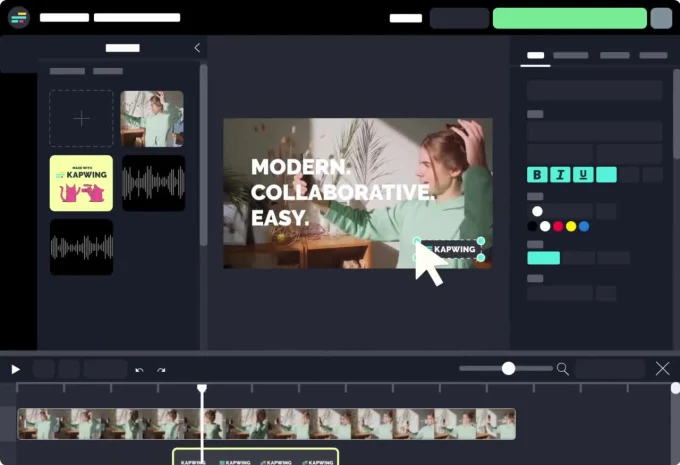
- Include titles, captions, and text overlays to provide context, introduce segments,
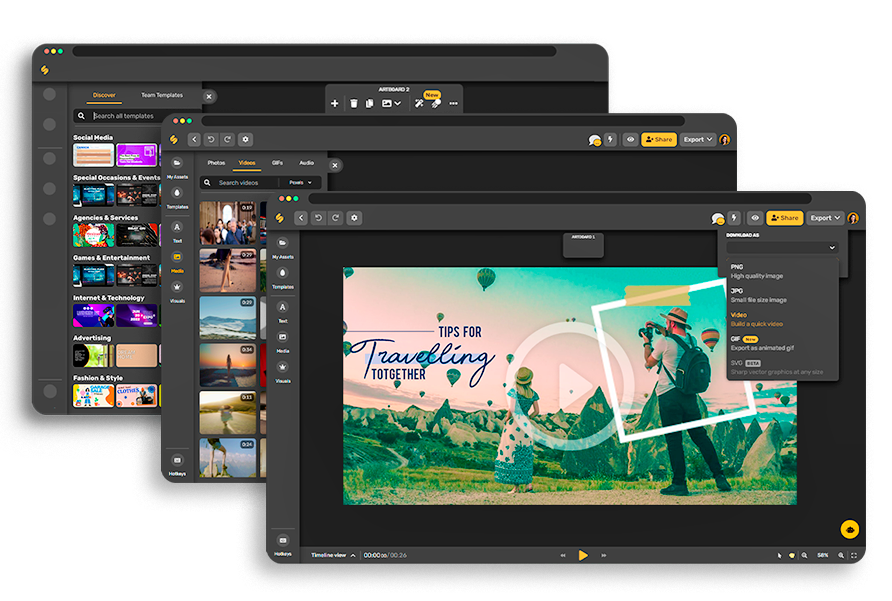
- Once you're satisfied with your video edit, render/export your video into a final video file format.
- Watch your video from start to finish to ensure everything looks and sounds as intended.
- After making any final adjustments based on feedback, export your video one last time. Save a high-quality version of your video for distribution or sharing.
- Gather feedback from colleagues or peers and make any necessary revisions.